
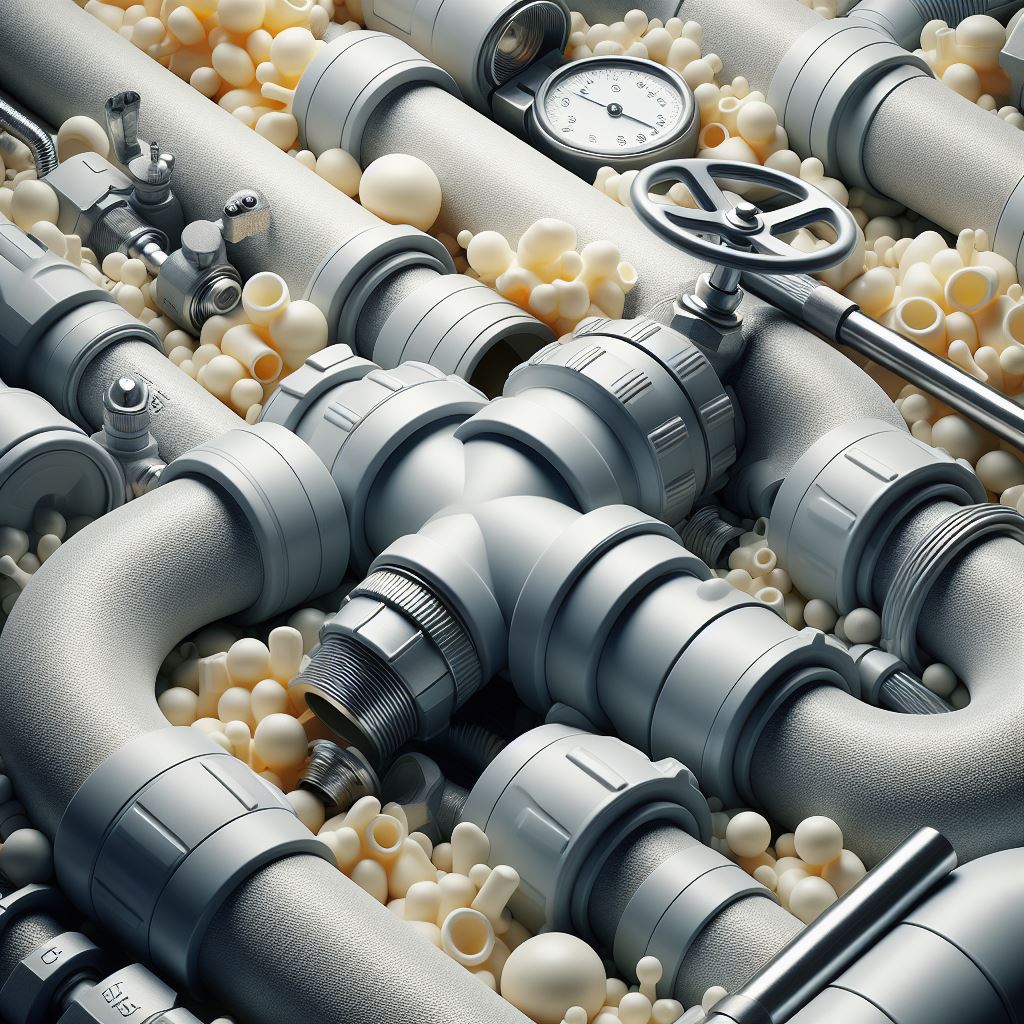
UPVC Pipe: Are you looking to tackle a home plumbing project but feel daunted by the task at hand? Fear not! UPVC pipes offer a fantastic solution due to their ease of installation, durability, and cost-effectiveness. Whether renovating your bathroom or setting up an irrigation system for the garden, this guide will take you through the steps to install UPVC pipes, making your project a breeze.
Introduction
Imagine turning the key to your home’s front door after a long day’s work, only to find a small lake has formed in your basement. Plumbing issues can strike unexpectedly and can be costly if you constantly rely on professionals for every little fix. Enter UPVC pipes – a godsend for DIY enthusiasts keen on tackling such projects themselves. In this article, we’ll uncover why UPVC is your best friend for home plumbing and guide you through a step-by-step installation process.
Why Choose UPVC Pipe?
Before we dive into the installation process, let’s explore why UPVC pipes are favored among DIY and professional circles alike.
Durability and Longevity
- UPVC pipes are resistant to corrosion, making them ideal for both underground and above-ground installations.
- They do not rust, pit, or scale, ensuring a longer lifespan than metal piping.
Cost-Effectiveness
- Cheaper than copper or steel, UPVC pipes allow for a budget-friendly installation without sacrificing quality.
- Low maintenance costs add to their appeal as a long-term investment.
Ease of Installation
- Lightweight and easy to handle, UPVC pipes can be cut and fitted without the need for heavy machinery or specialized tools.
By choosing UPVC, you’re opting for a solution that combines efficiency, durability, and cost-effectiveness. Now, let’s get our hands dirty!
Step-by-Step UPVC Pipe Installation
Tackling a UPVC pipe installation might seem intimidating at first glance, but we’ve broken down the process to make it manageable for even a novice DIYer.
Tools and Materials Needed
Gather your tools and materials before you start to ensure a smooth installation process. You’ll need:
- UPVC pipes
- UPVC fittings (elbows, tees, etc.)
- Pipe cutter or hacksaw
- Sandpaper or a deburring tool
- UPVC solvent cement
- Measuring tape
- Marker
Preparing the Pipes and Fittings
- Measure and Cut: Measure the length of the pipe required for your project using a measuring tape, and mark it with a marker. Cut the pipe squarely using a pipe cutter or hacksaw.
- Deburr and Clean: Use sandpaper or a deburring tool to remove any burrs or rough edges from the cut end of the pipe. Clean the end of the pipe and the inside of the fitting with a dry cloth to remove any dirt or dust.
The Solvent Welding Process
The key to a watertight UPVC installation lies in solvent welding, a process that chemically fuses the pipe and fitting together.
- Apply Solvent Cement: Apply a thin, even layer of UPVC solvent cement to the outside of the pipe end and the inside of the fitting.
- Insert the Pipe: Quickly insert the pipe into the fitting with a slight twisting motion to ensure even distribution of the cement.
- Hold and Dry: Hold the pipe and fit it together firmly for about 30 seconds to prevent it from pushing apart. Allow the joint to set and dry according to the manufacturer’s recommendations before testing.
Testing and Troubleshooting
After installing your UPVC pipes, it’s crucial to test the system for any leaks.
- Fill the system with water and inspect each joint and connection for any signs of leaks.
- If a leak is detected, it may be necessary to reapply solvent cement or replace the affected section of pipe.
Conclusion of UPVC Pipe
UPVC pipe installation doesn’t have to be a daunting task. With the right tools, materials, and a bit of patience, you can achieve a professional-quality plumbing system that stands the test of time. Remember, the key to a successful installation lies in careful planning, precise measurement, and attention to detail during the solvent welding process.
So roll up your sleeves, and let’s make those plumbing projects a reality. Happy piping!
“With UPVC pipes, every DIY enthusiast has the opportunity to become a plumbing hero in their own home.”
Is Polyvinyl Chloride Waterproof? Discover the Best 10 Uses


Pingback: PVC's Amazing Strength: Feel Secure & Inspired - Safe Climber Overseas Pvt. Ltd.
Pingback: Pipe Manufacturing Companies: The Secrets Of Their Success - Safe Climber Overseas Pvt. Ltd.